 ePOE feature guide3 min read
Leveling tracker in ePOE: A Practical Guide
An act-by-act route that advances itself as you change zone, with a session timer.


An act-by-act route that advances itself as you change zone, with a session timer.
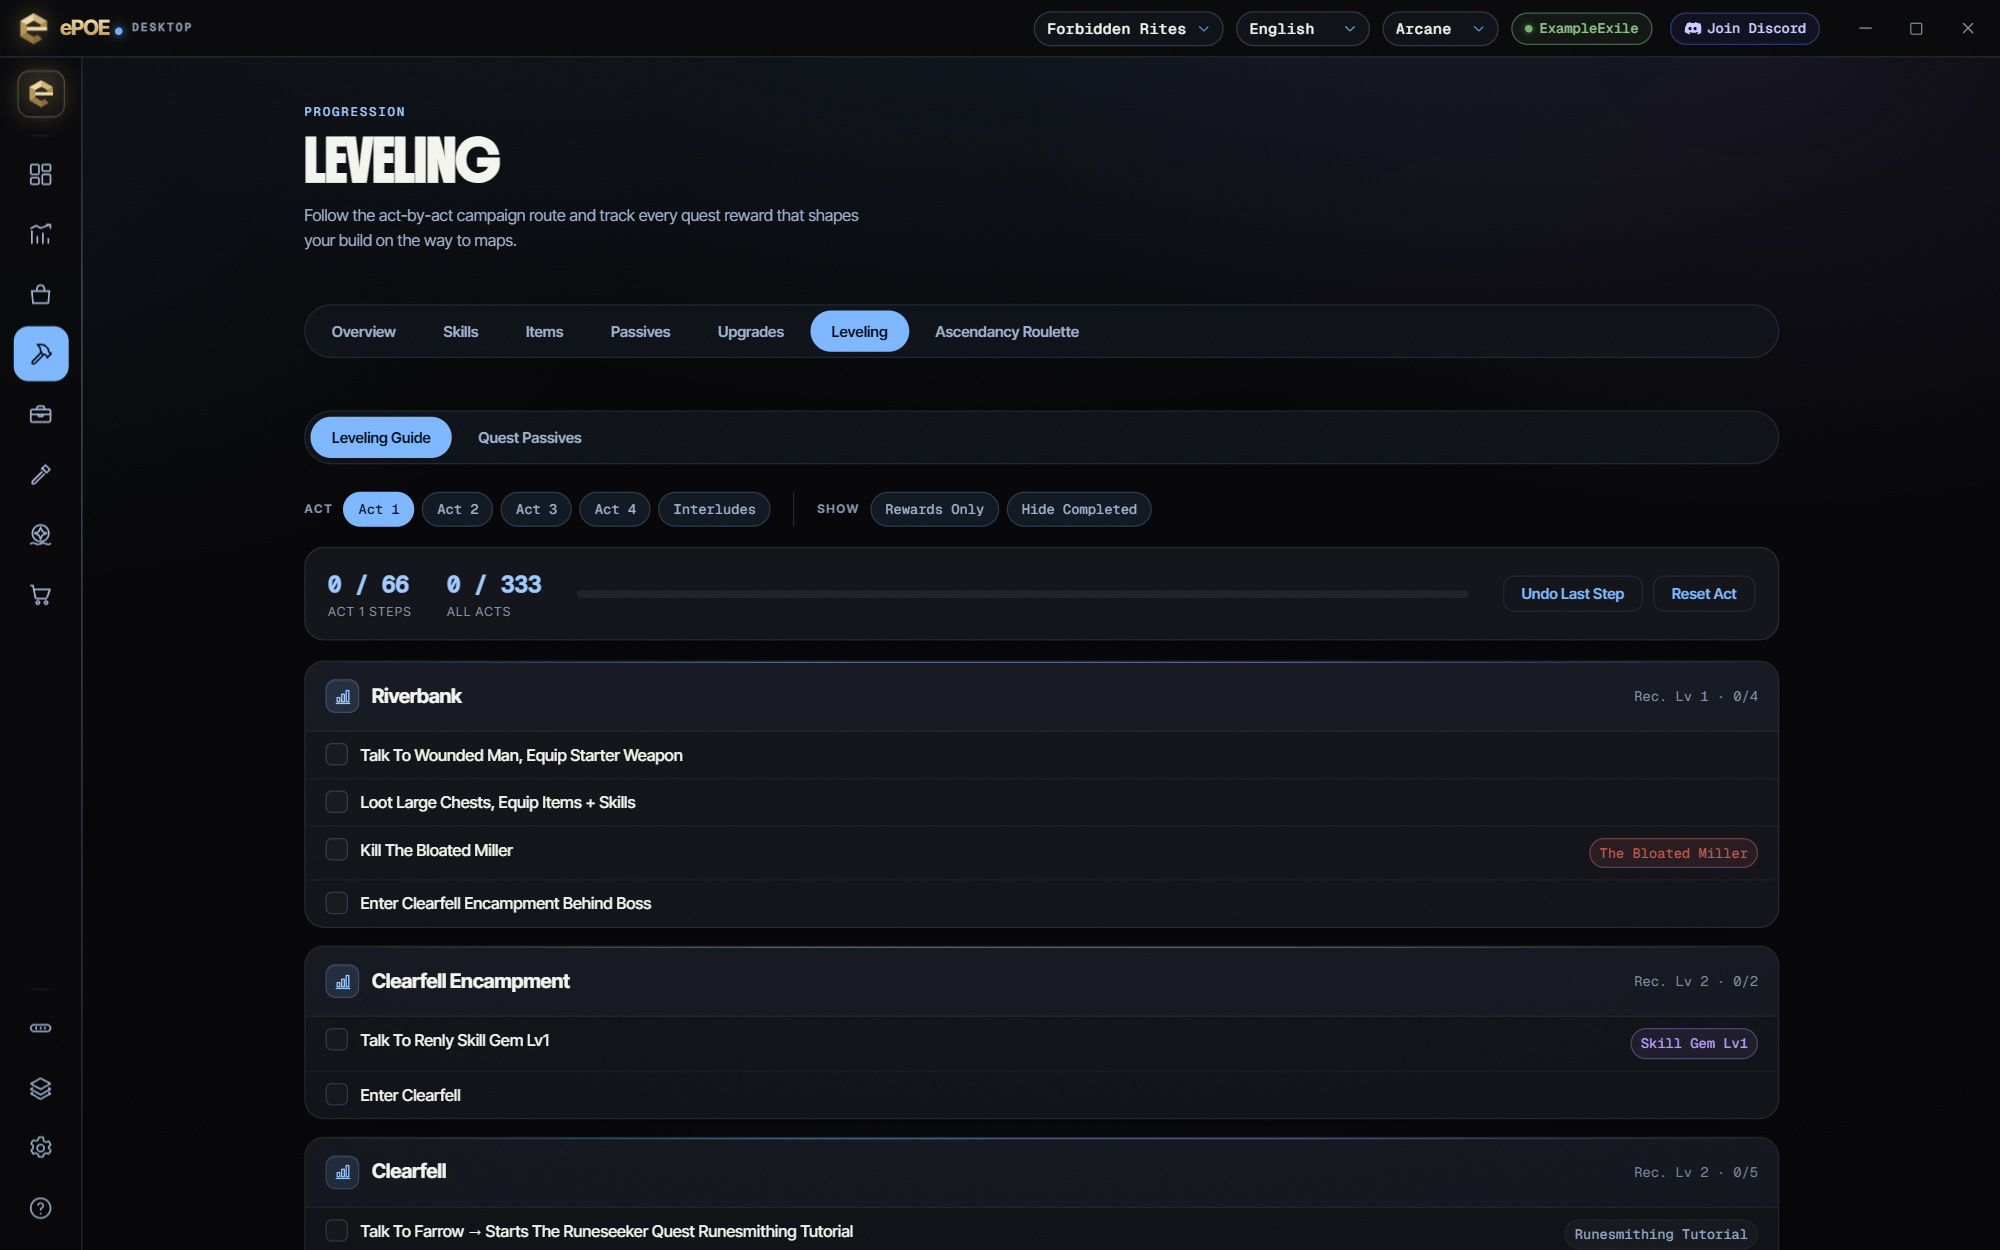
An act-by-act route in a movable window that advances itself as you change zones. Import a build and it turns build-aware, listing the skill gems to grab in each act and the milestones to hit. Recommended level, an EXP verdict, suggested farming zones, progress bars, a rewards-only filter, Complete Step and Undo Step keys and a compact mode. Open it from the feature bar, or bind it a key of your own.
Where to start
Open Build → Leveling in ePOE Desktop. If your layout differs, use Help to search for Leveling tracker.
If you prefer a keyboard shortcut, check this feature’s current binding under Overlays → Hotkeys. Bindings can be changed, so use the one shown in your app.
- Make sure Read Client.txt is on under Settings → Price Checks → Behavior, and set the path under Settings → General if auto-detection missed it.
- Press the hotkey to show the movable panel and drag it somewhere you'll actually read.
- It advances on its own as you enter zones; step it manually after a detour.
- Bind Leveling: Complete Step and Leveling: Undo Step under Overlays → Hotkeys to tick the next step of the current zone, or untick the last one, without leaving the game.
- Read Recommended farming zones on the panel when you are underlevelled — zones known for fast campaign experience that you have not out-levelled yet.
- Check the quest passive-point list on the Leveling page at the end of each act.
How it knows where you are
PoE2 writes a line to its `Client.txt` log file every time you enter an area. ePOE watches that file and matches the zone name against the route, then advances the panel. No memory reading, no screen capture, no input — just tailing a log the game already writes.
If it never advances:
- Check the Client.txt path under Settings → General → Path of Exile 2. Auto-detection covers the standard install locations; a custom install directory or a non-Steam launcher may need it set by hand.
- Confirm Read Client.txt is on under Settings → Price Checks → Behavior. It gates this, the whisper widget, and the XP features together.
The feature in practice
Open it from the Selection Wheel or the Feature Bar, where it is on by default (or bind the unbound Leveling hotkey under Overlays → Hotkeys → Overlay widgets). A small always-on-top panel appears with the route for the zone you are in, and it moves itself along as you play.
Try it in your next session
Start with the first action in the walkthrough, check the values and state the app shows, then continue with the settings that suit your character or workflow. Your own configured hotkeys and selected league take priority over an example in a screenshot.
Download ePOE · Read the current changelog · Browse the guides